.Avi to DVD with Nerovision
A quick note about video encoding. The first rule computer programmers learned was (s*** in/s*** out), sorry for the bad language. This saying dates back to the 1950s, and means if you put bad data into a computer, you will get only bad data out. An example is, if your source video has problems, or even poorly edited removal of commercials, your encode is going to make these problems even worse, and audio snyc issues are common when your computers tries to make useful data out of bad video.
This procedure will work with almost any file type you like.
Because there have been so many requests asking how to burn .avi files to DVD, I thought I would take a few minutes and detail this procedure using Nerovision 4, that comes with Nero premium 7. If you have a different version, I assume the procedure is similar. By default, Nerovision displays a “tips” menu with each step, this is helpful for new users, but for the purpose of the tutorial, and keeping it simple, I’m going to ignore them.
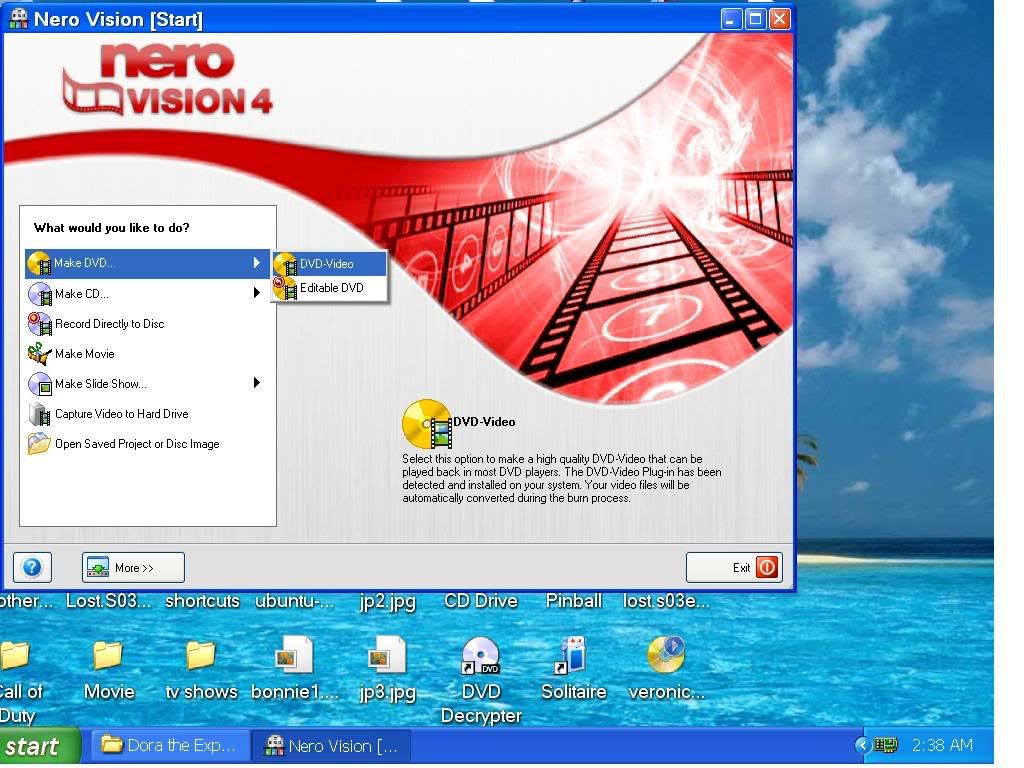
Start Nerovision 4
Select “make DVD”
Select “DVD video”
On this screen you select what video files you want to be burnt on your DVD, select add video files, a file browser will appear, simply click on the desired file/files. You can repeat this process to add more files from a different location.
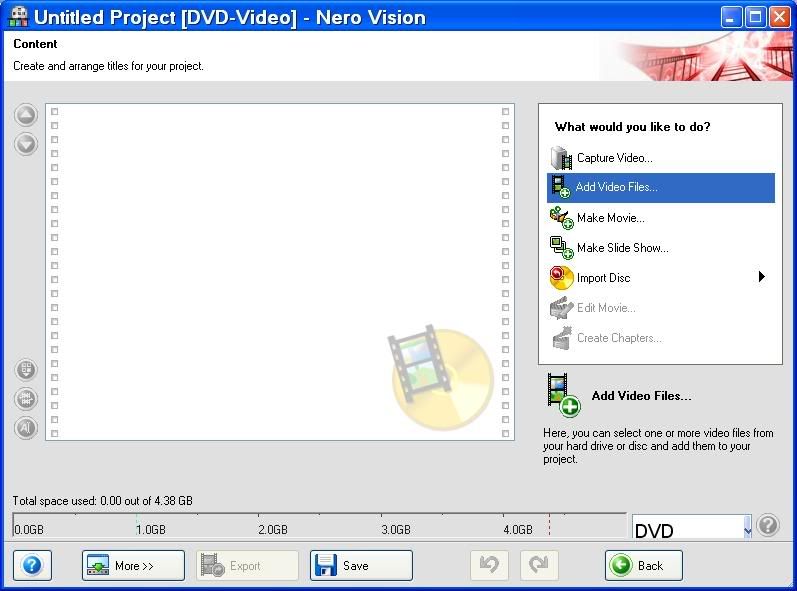
You will now see a display of the files, with details and at the bottom, you will see a bar graph showing the amount of space the project will use to make a DVD.
The latest version of Nerovision has a “fit to disc” setting, so this step is no longer needed.
If you get a message saying the files will not fit the DVD disc, asking if you want to automatically reduce quality to make your project fit, you can select this option, however, you can manually choose a bit rate to custom fit the project to get the highest quality and use the full capacity of the DVD disc.
Choosing a custom bit rate (optional)
Select the “More” button at the bottom.
Select Video Options
Select the DVD video tab on top
Select quality setting, scroll to the bottom and chose “custom”
Go to “bit rate” and select a new bit rate, lower bit rate uses less disc space, however if you lower bit rate drastically, you will reduce quality noticeably.
After you select a bit rate that will fit on your target disc, then continue.
You will now see a “create chapters” button on the bottom right hand side. This is NOT a necessary step, so I’m not going to get into details here, but it’s very easy to let Nero automatically detect chapters.
Now, On the Bottom, you will see “video options”, click on this…

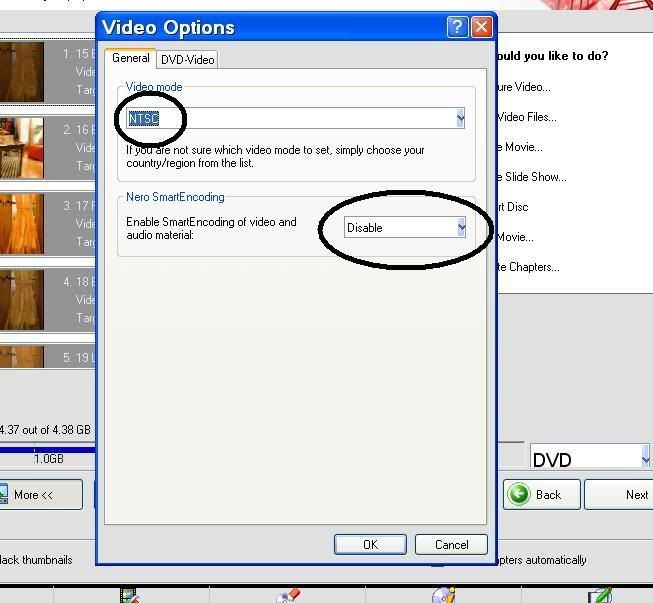
You will now see a window with “video options”, Select NTSC for region code 1 (most of North America and Asia), or region code 2 PAL for Europe.
You will also see an option for “smart encoding”. I have found that this option is anything BUT “smart”, and can lead to audio snyc problems, so I always disable this.
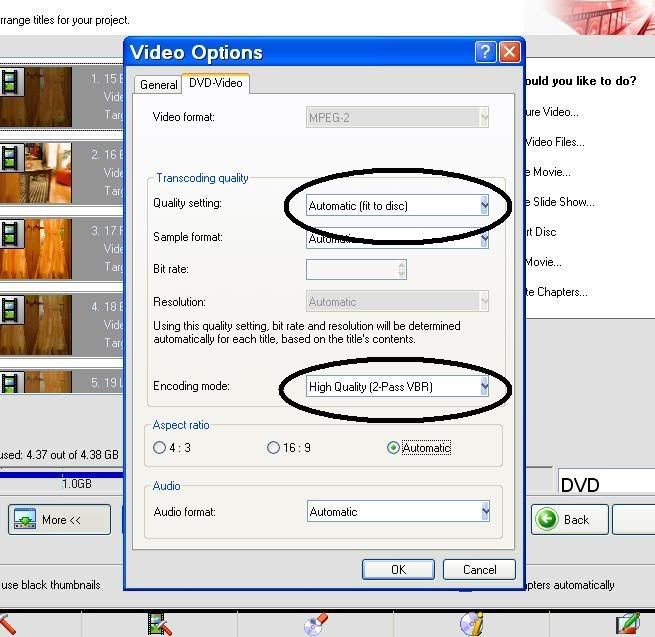
Now, if you select the “DVD video” tab, you can select the “fit to disc” setting, which will automatically adjust bit rate to make your videos fit the DVD disc you selected.
You will also see an option to select single pass, or two pass encoding. Two pass will give better quality, but will take longer.
click “Next”
Now, if you double click on any of the video files,
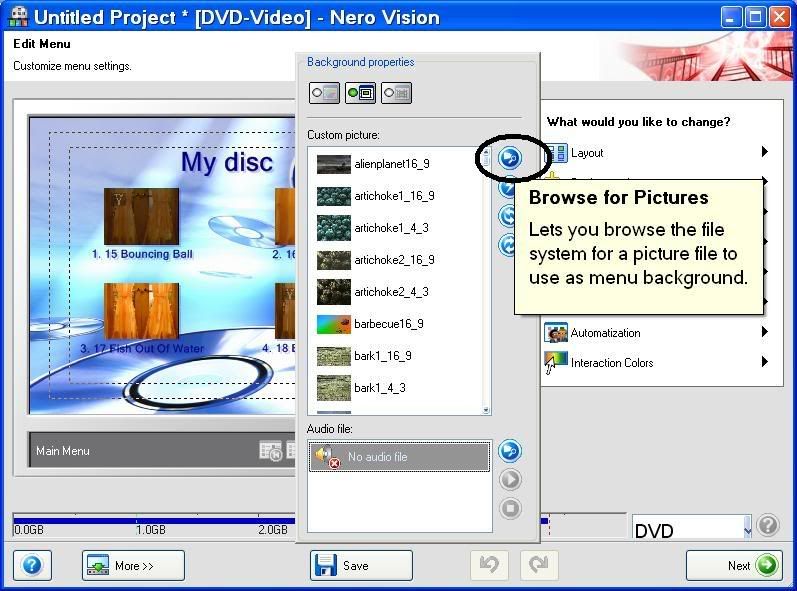
A menu will appear on the right where you can select options, the top item lets you choose the layout, how many items appear on the page shown, the size of the icons etc. You can also have multiple pages in your menu, which is nice if you have a large amount of files on the DVD.
There are many ways to customize your project; I’m not going to explain all the options here, just the basics to get you started.
This screen show will show how to browse for an image to use for background (I like to use a screenshot from the video.
Going down to “Header/Footer text”, you can change the My Disc (the default name used with my version of Nero) to whatever you want displayed, and add text to the bottom of your menu.
You can also double click on the files listed and change the text from the file name, to whatever you like.
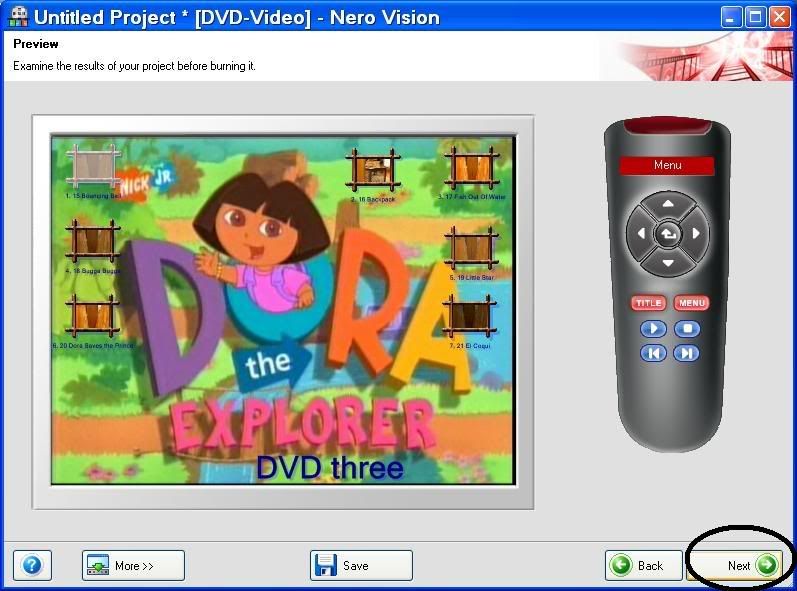
After you have your menus setup the way you like, you can then, Select Next until you get to “Preview page”.

Now you can either use the remote control pictured on the right, or just click on the file icons to view your project. Once you are happy with its setup, you can select “Next” again.
You may now get a warning saying your project contains more pal then NTSC, but will be burnt in NTSC, do you want to change the settings to PAL. Select no, unless your DVD player is setup to play PAL discs. (if you don’t know what this means, check the DVDs you use, for example, North America uses NTSC, or Region 1.
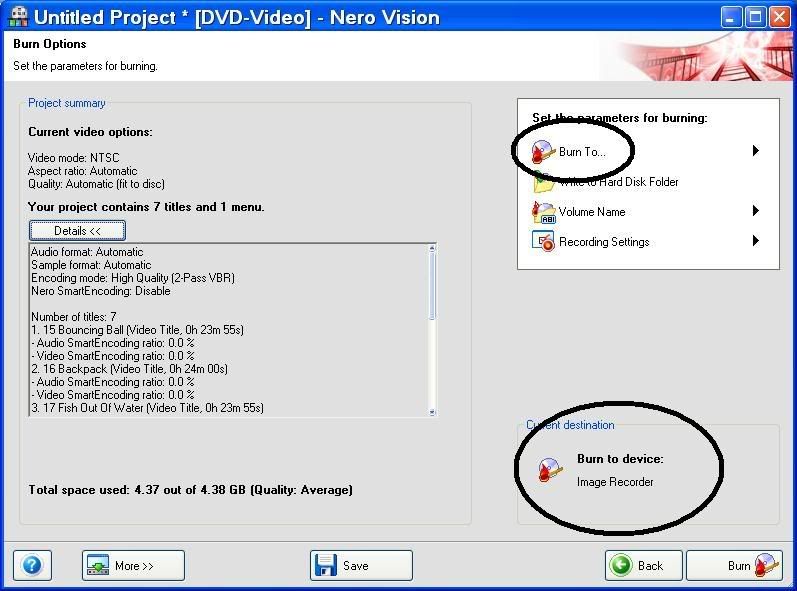
On this page you can select the device to burn your DVD. I prefer to burn my project to “image recorder” which will make a Nero disc image (disc.nrg), which can then be burned to a DVDR as many times as you like, and will prevent the need to start the entire project over if the burn should fail.
You will now be prompted to enter a name for the DVD disc image…
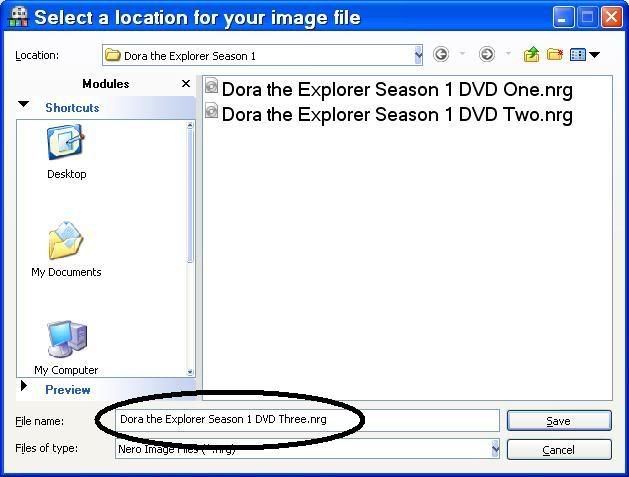
Shut down all programs when doing the encode
Click OK and the encoding will begin.
At this point your almost done, but the computer is just getting started
This screen shows two bar graphs showing progress of current file being transcoded, and the total progress of the project. You can also select the priority the computer gives the project. If you are not going to use the computer until it’s done, select high. In any case, if burning to a disc, I don’t recommend any other programs be running during the burning stage.
Also, don’t be surprised if it takes a long time to transcode. I have seen projects take anywhere from one to ten hours, depending on your system and the files being used.
I hope you find this useful.
TuuS
PS. this guide has been updated to include some of the features in the latest Nero versions, however the attached file has not been updated at this time, but will be soon.
Updated Guide in Word.doc format with embedded graphics
Avi2DVDwithNerovision_Updated_.doc
Updated Guide in Adobe.pdf format w/graphics
nAvi2DVDwithNerovision_Updated_.pdf
Updated Guide in Word.doc with linked graphics
Avi_to_DVD_with_Nerovision.doc
Original guide (no graphics)